 How-to
How to Build a Deck on Uneven Ground: 7 Steps
Table of Contents
- What You'll Need Before You Start
- Step 1: Assess Your Slope and Test Soil Stability
- Step 2: Choose the Right Deck Foundation Types for Slopes
- Step 3: Install Footings and Set Posts on Uneven Ground
- Step 4: Use Adjustable Deck Pedestals for Low-Clearance Areas
- Step 5: Build a Level Frame and Integrate with Existing Landscaping
- Step 6: Understand Building Code Requirements for Elevated Decks
- Step 7: Maintain Your Deck and Adjustable Pedestals Long-Term
- Frequently Asked Questions
Last Updated: September 27, 2026
What You'll Need Before You Start
Building a deck on uneven ground is one of the most common challenges homeowners face, and it's also where most DIY decks fail. A sloped yard changes everything about how you plan, dig, and frame.
The good news: a sloped yard doesn't limit what you can build. It just changes the method.
Before you dig a single hole, gather these tools and materials:
- Tape measure and 4-foot level
- String line and batter boards
- Post-hole shovel and digging bar
- Circular saw and drill
- Concrete mix and post anchors
- Pressure-treated lumber or composite decking boards
- Joist hangers and structural screws
- Adjustable pedestals (for low-clearance areas)
- Safety glasses and work gloves
You'll also need to check local building permits before you start. Most areas require one for any deck above a certain height.
Step 1: Assess Your Slope and Test Soil Stability
Start by measuring your slope grade and testing how well your soil holds.
Drive two stakes at the top and bottom of your planned deck area. Tie a string line between them, level it, then measure the gap between the string and the ground at both ends. That gap is your total drop.
Divide the drop by the horizontal distance, then multiply by 100. A 2-foot drop over 12 feet equals a 16% slope.
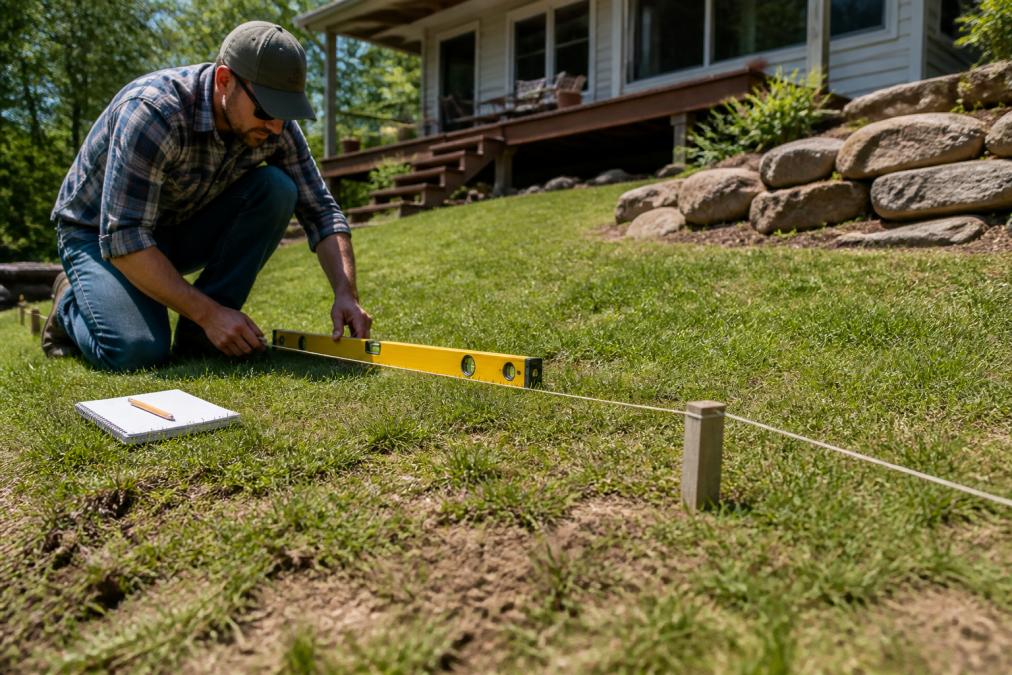
Soil stability testing matters more than most guides admit. Push a steel rod into the ground at several points. If it slides in easily, your soil is loose and may need compacting before footings go in. Loose soil shifts over time and takes your posts with it.
Watch for signs of soil erosion near the base of the slope. Water pools there after rain and weakens the ground under your future footings.
Step 2: Choose the Right Deck Foundation Types for Slopes
The right deck foundation types for slopes fall into three main categories, and your slope grade decides which one fits.
| Foundation Type | Best For | Slope Range | Key Feature |
|---|---|---|---|
| Ground-anchored posts | Gentle slopes | Under 15% | Posts set in concrete piers |
| Stepped foundations | Moderate slopes | 15-40% | Multiple levels, each with its own footings |
| Cantilevered design | Steep slopes | Over 40% | Frame extends past the last support |
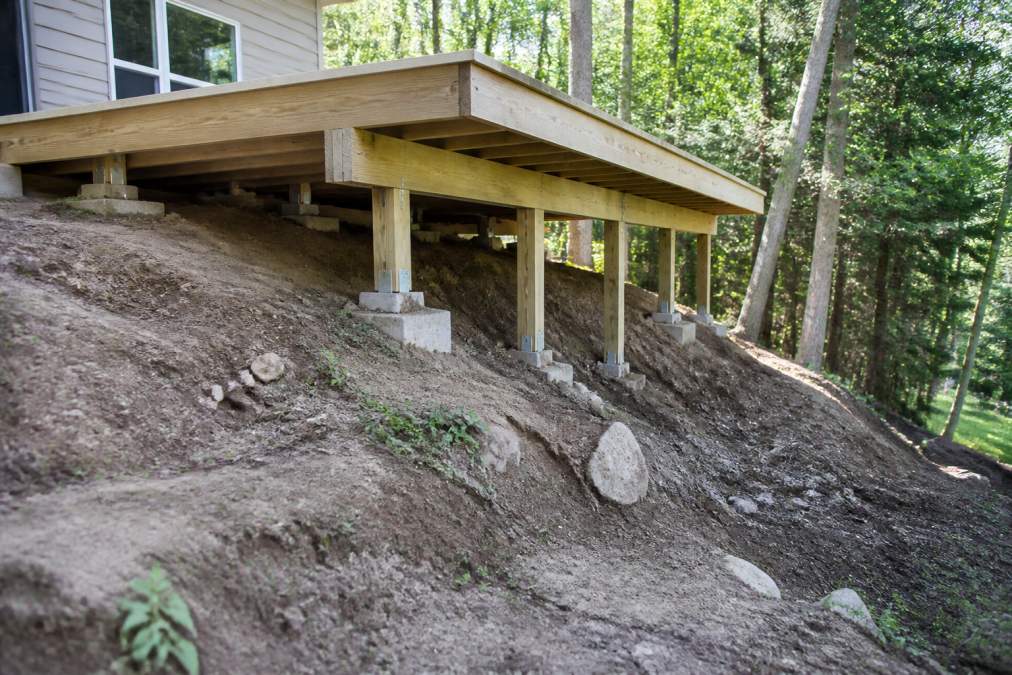
Ground-anchored posts work when the drop is small. You dig footings at each corner and set posts in concrete.
Stepped foundations break the deck into sections, each sitting at its own height. This keeps the frame closer to the ground and reduces the load on any single post.
Cantilevered designs let you avoid digging deep into a steep hill. The frame extends out past the last footing, supported by the structure above.
For most sloped yards, stepped foundations offer the best balance of cost, stability, and looks.
Step 3: Install Footings and Set Posts on Uneven Ground
Setting the posts.
- Dig each hole to depth and widen the bottom into a bell shape where the soil allows. The bell resists uplift and stops the pier from being pushed up by frost.
- Pour concrete and set a post anchor or embedded J-bolt while the concrete is still wet. Let it cure per the manufacturer's instructions, typically 24 to 48 hours before loading, longer in cold weather.
- Attach the post base to the anchor. Post bases lift the wood off the concrete so moisture doesn't wick into the end grain and rot the base.
- Cut each post to its own length. Measure from the anchor top to your string line at every post location, do not assume matching lengths will work on a slope.
- Brace each post in two directions with temporary 2x4s staked to the ground. A post that looks plumb before bracing will drift as soon as you load the beam.
Check plumb in two planes. A level only tells you the post is vertical in one direction. Sight down the row of posts from the end of the deck and check the line, a post that's off by a degree at the base will be visibly crooked at the top once the beam is on.
Drainage at the footing. Slope the ground away from each pier so water runs off instead of pooling at the base. On uneven ground, water naturally collects on the uphill side of a pier, and standing water against concrete accelerates freeze-thaw damage and softens the soil the pier depends on.
Step 4: Use Adjustable Deck Pedestals for Low-Clearance Areas
Adjustable deck pedestals solve a problem posts can't: spots where the ground is too close to the frame for a full footing.
They work best in these situations:
- Low-clearance areas where digging is impractical
- Rooftop or patio decks over a solid surface
- Spots where you need to fine-tune height after framing
- Areas with poor drainage where concrete would trap water
Step 5: Build a Level Frame and Integrate with Existing Landscaping
A level frame starts with a level ledger board and square layout.
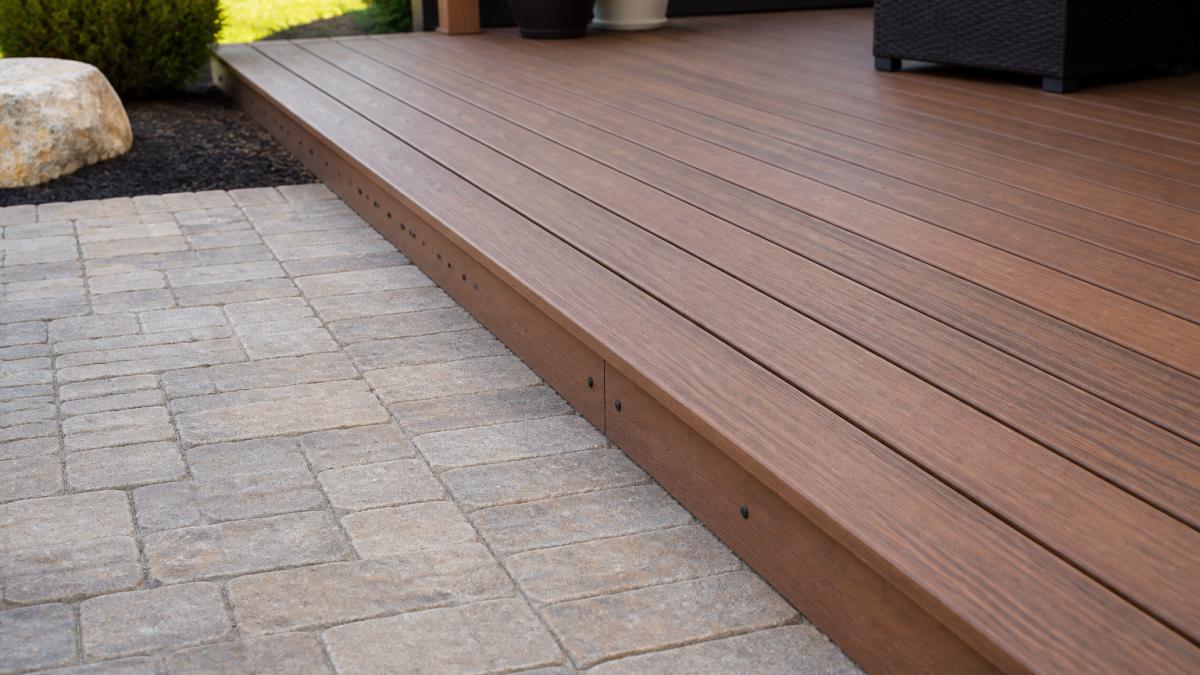
- Line the deck edge up with existing patios or walkways
- Leave room for plants and drainage along the base
- Use retaining walls to terrace the slope if you want a planted border
- Match decking board direction to the sightlines from your house
Step 6: Understand Building Code Requirements for Elevated Decks
Building code requirements for elevated decks cover footing depth, railing height, and how the deck attaches to your home. These rules exist to keep the structure safe under load.
Most codes require:
- Footings below the frost line
- Railing at least 36 inches high on decks over 30 inches off the ground
- A ledger board bolted to the home's rim joist, not the siding
- Joist hangers at every joist-to-beam connection
- A permit and inspection before you cover the frame
Step 7: Maintain Your Deck and Adjustable Pedestals Long-Term
Long-term maintenance is what separates a deck that lasts decades from one that sags in five years. On uneven ground, the ground itself keeps moving, soil settles, frost heaves, and drainage patterns shift, so the maintenance schedule matters more than it does on a flat lot.
How to adjust a pedestal that has settled.
- Locate the low spot by walking the deck with a 4-foot level and marking where the bubble breaks.
- From underneath, find the pedestal under that spot. Most screw-adjustable pedestals have a threaded collar you turn with a wrench or by hand.
- Turn the collar to raise the head until the deck surface is level again. Raise in small increments, a quarter turn at a time, and re-check with the level.
- If the pedestal base itself has sunk into the ground, you can't fix it by turning the collar. You need to lift the deck section, re-compact the base, and reset the pedestal on a fresh paver or concrete pad.
- Re-tighten any locking collar or set screw so the pedestal can't back down under vibration.
Signs a pedestal needs replacement, not adjustment:
- Rusted or seized threads that won't turn
- A cracked or deformed head
- A base that has tilted more than a few degrees off level
- Visible corrosion on galvanized or painted finishes
On uneven ground, the deck is only as stable as the soil under it. Budget an hour a year for inspection and a few hours every third year for pedestal adjustment, that's the difference between a deck that stays level and one that sags.
Frequently Asked Questions
Can I lay decking on uneven ground?
You can lay decking on uneven ground, but you cannot place decking boards directly on the soil. You need a proper foundation system, such as concrete footings, adjustable pedestals, or ground screws, to support the deck frame and keep it level. The method you choose depends on the slope and soil conditions. Always check local building codes before starting.
What is the 3/4/5 rule for deck framing?
The 3/4/5 rule is a simple way to check if a corner is square. Measure 3 feet along one side, 4 feet along the other, and the diagonal between those points should be 5 feet. If it is, the corner is square. This method is also called the 3-4-5 rule and helps ensure your deck frame is perfectly rectangular, which is critical for a level deck on uneven ground.
Do I need a permit to build a deck on a slope?
Most jurisdictions require a building permit for any deck that is attached to a house or more than 30 inches above grade. Because a deck on uneven ground often involves elevated sections, a permit is almost always needed. Check with your local building department before you dig. They will review your plans for footing depth, frost line requirements, and structural integrity.
Can I use adjustable deck pedestals for uneven ground?
Yes, adjustable deck pedestals are an excellent choice for uneven ground, especially for low-profile decks where digging footings is impractical. They allow you to level the sub-frame without concrete, and they provide a gap for drainage and joist clearance. However, they must be placed on a stable, compacted base. For slopes greater than 10%, you may need a combination of pedestals and stepped foundations.